

Contact Form 7 is one of the most popular WordPress plugin for creating a contact form in WordPress sites. Unfortunately, Contact Form does not have any control panel to style the form. But the good news is, it could be customized with the CSS code. In this article, I am going to present some codes with examples for styling Contact Form 7.
First thing first…
If you never deal with CSS code, I know the first question that arises in your mind is …
Where to put CSS code for Styling Contact Form 7?
There are many ways to put custom CSS code in our WordPress websites. We can put additional CSS in the style.css file or ‘Additional CSS’ area in the theme customize section (popular theme like ASTRA provide the option in its free version)
But personally I don’t go with the above. I preferred the easiest and safest way to put additional CSS with the help of a lovely plugin-Simple Custom CSS and JS. You may go with it.
Okey…
Let’s explore the codes:
How to change background colour in Contact Form 7 ?
If you use a page builder like Elementor. Put the shortcode of Contact Form 7 in Elementor ‘Short Code’ element then go to the Style tab of the ShortCode element and change the background color.
If you do not use any page builder then put the CSS code:
.wpcf7 {
background: #9CCC8E;
padding: 25px 25px 25px 25px !important;
}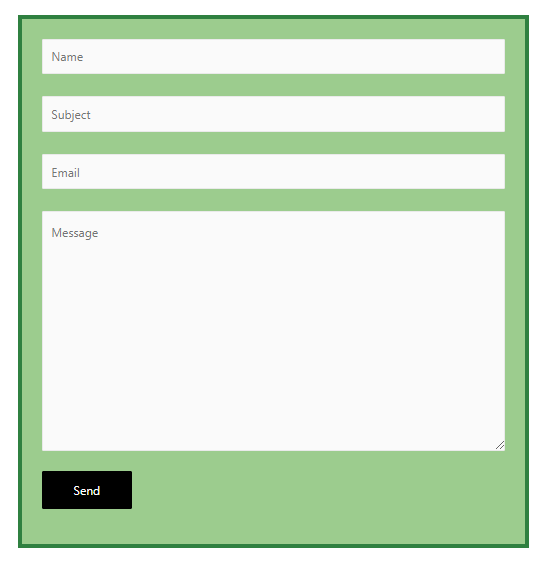
You are free to choose any background color by changing the hex code. You may find the color hex code from the online HTML color codes. In this code, the padding is important for the design, without padding background color doesn’t visible properly. The sequence of the padding is Top-Right-Bottom-Left.
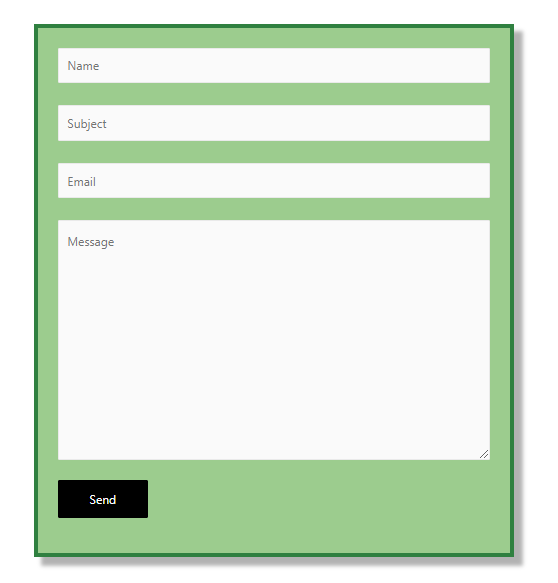
How to add Border in CF7 ?
Put this CSS code snippet for adding border in Contact Form 7
.wpcf7 {
     border: 5px solid #2F8040;
 }
You can change the border width by changing the pixels value and also the border color by changing the color hex code.
How to add Box Shadow in Contact Form 7 ?
Adding shadow or box-shadow makes the Contact Form attractive. Put the code for the shadow:
.wpcf7 {
	 box-shadow: 10px 10px 5px 1px rgba(0,0,0,0.3);
 }

I find an interesting site cssmatic.com to generate desired box shadows. We can create shadows with real-time previews from the site. So go there, generate shadow code and put the code into the CSS snippet.

Note: You are able to merge multiple codes in a single snippet. i.e. you can combine border and box-shadow in one:
.wpcf7 {
     border: 5px solid #2F8040;
     box-shadow: 10px 10px 5px 1px rgba(0,0,0,0.3);
 }
How to adjust width of Contact Form 7 ?
CF7 comes with auto width, that is nice for our design. But sometimes we need a specific width. In this situation we have to put CSS for it.
.wpcf7 { width: 500px;}

@media screen and (max-width: 500px) {
.wpcf7 { width: auto;}
}
In this code @media screen and (max-width: 500px) is the responsive code for mobile devices. We set width ‘auto’ for the mobile devices.
How to customize input field in CF7 ?
We can customise specific input field in Contact Form 7 by the help of CSS
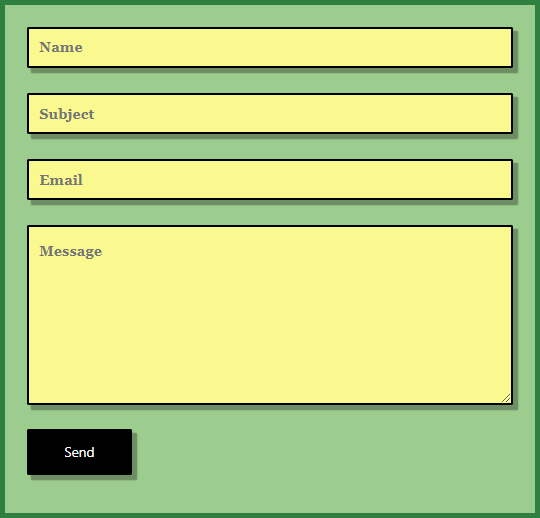
.wpcf7 input[type="text"],
 .wpcf7 input[type="email"],
 .wpcf7 input[type="textarea"],
 .wpcf7 input[type="submit"],
 textarea {
     font-size: 16px;
     font-family: Georgia;
     font-weight: bold;
     background-color: #F9F98F;
     border: 2px solid #000000;
     box-shadow: 10px 10px 5px 1px rgba(0,0,0,0.3);
 }
In this code text, email, textarea and submit fields are targeted for customisation. You can add, remove or change any value from the code, as per your requirement.
How to adjust the height of the message box in Contact form 7 ?
Put this code to adjust the height of the message box, which is a ‘textarea’ field in CF7
.wpcf7-form textarea {
    height: 200px;
}

Adjust the value of the height as per your requirement.
How to adjust the size and alignment of the Submit Button ?
Best way to adjust the width of the Submit Button is specify the width percentage of the button. If we specify the button width as 50%, the button size increases its width to 50% of the total form area. In this method we are able to adjust the button size responsively.
But the position of the button align is left by default. but we can align the button position center with the code.
.wpcf7 input[type="submit"] {
   width: 60%;
   position:relative;
   left:20%;
}
In this code width is set 60% of the form area and position are set ‘relative’ but we adjust the position with 20% left position Property. The calculation is 100%(total form area) – 60%(button area) = 40% (rest area) we center the button by positioning it half of the rest area, that is left 20%.
If we set 50% button width, then the ‘left position’ should be 100%-50%= 50% and the half of the 50% = 25%
How to Customize the Submit Button of CF7 ?
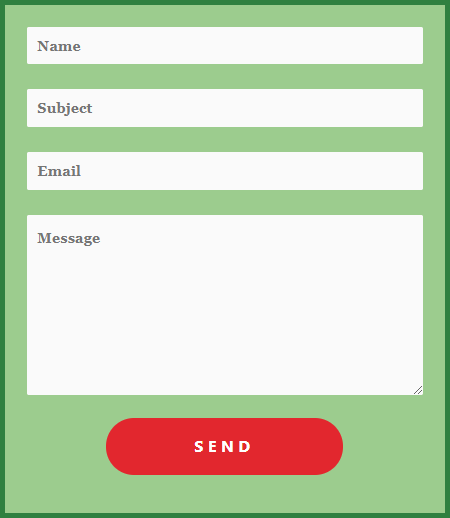
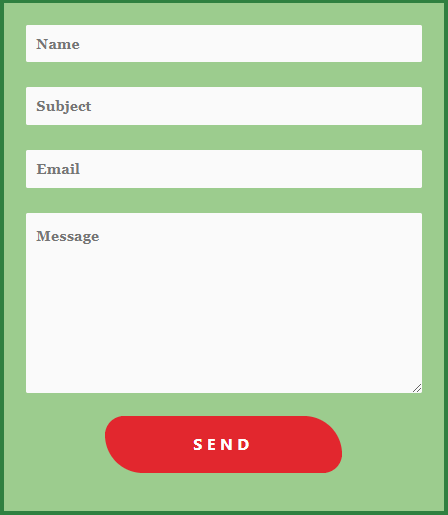
Put the CSS code snippet to customize the Submit Button.
.wpcf7 input[type="submit"] {
     color: #ffffff;
     font-size: 18px;
     font-weight: 700;
     background: #E2272E;
     padding: 15px 25px 15px 25px;
     border: none;
     border-radius: 33px;
     text-transform: uppercase;
     letter-spacing: 5px;
 }

 .wpcf7 input:hover[type="submit"] {
     background: #0A9E1C;
     transition: all 2.0s;
 }

.wpcf7 input:active[type="submit"] {
     background: #092AE4;
 }
You are free to edit all the values and range in the code. Change the border-radius for creating different shapes of the button. You may use the online tool for real-time preview.


12 Responses
God bless you my dear friend
Thank you dear
Such a helpful information for me.
Thank you
Really amazing tutorial in hindi I saw your videos thanks.
Thank you, Mohit. Thank you for your appreciation.
Good Plugin thank you for information.
Welcome Dear
wow its very easy trick for eveyone thank you so much sir , can you share your number , i will touch with you
I saw all the tutorial of Contact form 7 thats amazing 🙂
Thank You dear for the application.
Got to know many things. Appreciate it